

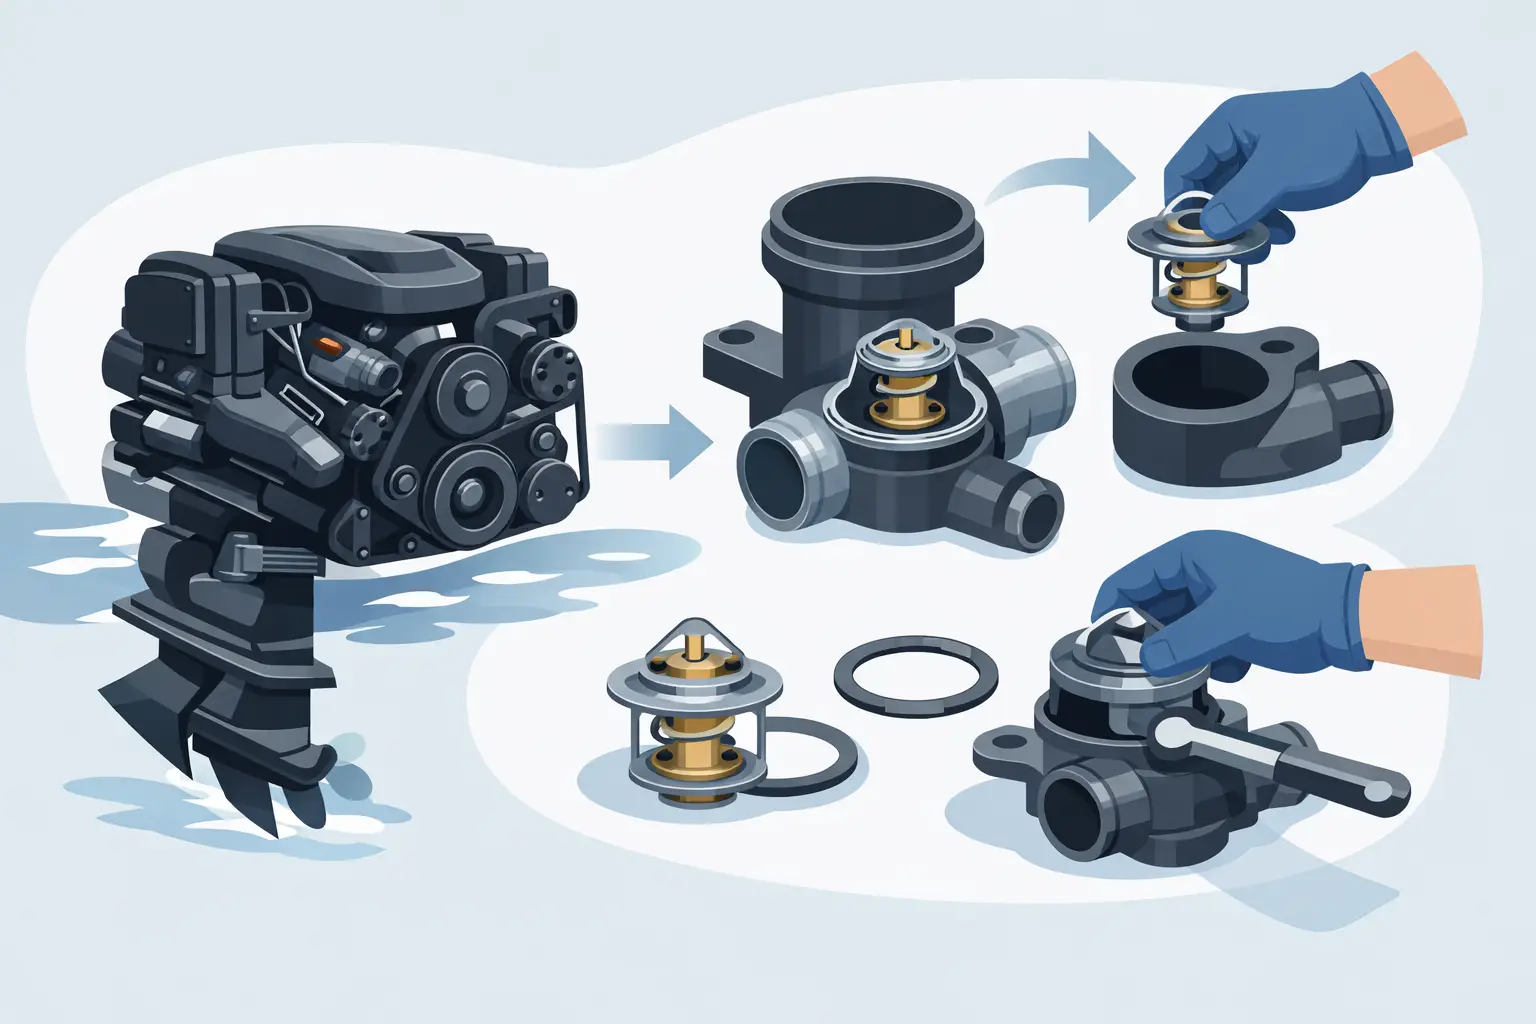
MerCruiser Thermostat Replacement Step-by-Step Guide
A MerCruiser that stays too cold, gets too hot, or fluctuates erratically in temperature usually doesn't have a big mystery behind it. In practice, diagnosis remarkably often starts with the thermostat. Anyone searching for a MerCruiser thermostat replacement step-by-step guide usually doesn't want a textbook, but simply wants to know what's safe, what needs to come loose, and where things go wrong. That's exactly the difference between getting back on the water quickly or tinkering unnecessarily.
When does a MerCruiser thermostat need replacing?
The thermostat controls how quickly the engine reaches operating temperature and then helps keep that temperature stable. If it's no longer working properly, you often notice it through an engine that doesn't properly come up to temperature, a temperature gauge that keeps fluctuating, or a block running too hot at idle or specifically under load.
On MerCruiser engines, you also regularly see an old thermostat getting stuck due to scale, corrosion, or contamination from the cooling system. Especially with salt water, inactivity, or deferred maintenance, that's not unusual. It does depend on the engine type and cooling system, though. A closed cooling system behaves differently than a fully raw-water-cooled engine, and the housing and gasket can also differ slightly per V6, V8, or 4-cylinder.
If you're unsure whether it's a faulty thermostat, water pump, or sensor, it's wise to first take a good look at the entire cooling system. Replacing only the thermostat doesn't solve everything if the impeller is worn or flow is restricted elsewhere.
What you need for this MerCruiser thermostat replacement guide
Only start once the engine has fully cooled down. Basic tools are usually enough: a socket set or ring spanners, screwdrivers, a catch tray, a putty knife or gasket scraper, cleaning rags, and possibly a torque wrench. You'll also need a new thermostat, the correct gasket or O-ring, and in some cases a new thermostat cover gasket.
Always use parts that match your exact MerCruiser configuration. That sounds obvious, but this is often where things go wrong. The opening temperature, thermostat shape, and housing version need to match the engine number or serial number. A thermostat that physically appears to fit isn't automatically the right choice.
Also check beforehand whether you need gasket material, sealant, or assembly grease. Some versions are fitted dry with the correct gasket, others call for a very limited application of sealant. Too much sealant is just as troublesome here as too little, since excess material can end up in the coolant passage.
Preparation: working safely and releasing pressure from the system
Switch off the battery and make sure the engine can't accidentally be started. Shut off the water supply if the boat is on land with a flush connection, or work stably and dry if it's in the marina. Then carefully open the cooling system as specified for your engine. On a warm system, there can still be pressure present, so don't take risks with that.
Neatly catch the coolant or water. On closed systems, you want to work as cleanly as possible, since contamination in the system can cause problems again later. Also immediately clean the area around the thermostat housing. You don't want dirt falling into an open coolant passage and ending up in the engine.
MerCruiser thermostat replacement step-by-step guide in practice
1. Locate the thermostat housing
On most MerCruiser engines, the thermostat housing sits on top of the engine, often centrally at the top of the intake manifold. Hoses run to it, and from there the coolant flow is distributed. Sometimes a cover, air hose, or other small part needs to come off first for proper access.
Take a photo of the situation before disassembly. That saves confusion during reassembly, especially if multiple hoses are attached to the housing.
2. Carefully remove hoses and cover
Loosen the hose clamps and pull the hoses off the connections with care. If a hose is stuck, don't immediately force it with heavy tools. A twisting motion usually works better than pulling. Damaged hose barbs or torn hoses cause leakage later.
Then loosen the bolts on the thermostat housing. Do this evenly. If the cover is stuck due to old gasket residue or corrosion, tap it loose very gently. Don't pry on the sealing surface.
3. Remove the old thermostat
Lift the cover off and immediately note how the old thermostat is positioned. Orientation matters. On some versions, the bleed valve or small vent hole needs to face a specific direction.
Take out the thermostat and old gasket. Immediately check whether any gasket residue is still stuck to the housing or cover. Everything needs to be clean and flat before fitting the new parts.
4. Thoroughly clean the sealing surfaces
This is the point where a neat repair sets itself apart from rushed work. Carefully scrape away old gasket residue without damaging the aluminium or cast housing. Then use a clean cloth to remove dirt and remaining material.
Also check the thermostat housing for corrosion, pitting, or hairline cracks. If the housing itself is affected, you can fit a new thermostat and still get leakage. In that case, the problem needs to be addressed there first.
5. Fit the new thermostat correctly
Place the new thermostat back in exactly the same way as the old one. Pay attention to which side faces up and down. Then fit the new gasket or O-ring as specified. Only use sealant if required for your type, and keep it minimal.
Always compare the old and new thermostat side by side before refitting the cover. A small difference in height or edge diameter is often already enough to cause installation problems or incorrect temperature regulation.
6. Refit the thermostat housing
Place the cover straight onto the housing and tighten the bolts hand-tight. Then tighten them crosswise and evenly. Overtightening is a well-known mistake, especially with aluminium parts. That can warp a cover or damage the thread, leaving you further from a solution than before.
Reconnect the hoses and check that the clamps are properly seated. Crookedly placed clamps sometimes only leak once the engine reaches operating temperature.
7. Fill and check the cooling system
On a closed system, top up coolant to the correct level. On a raw water set-up, mainly check that everything's correctly reconnected and the water supply is in order. Then start the engine according to the correct procedure and let it calmly come up to temperature.
Meanwhile, watch for leakage around the thermostat housing, the hoses, and the gasket. Also keep an eye on the temperature gauge. The engine should gradually come up to temperature and then stay stable. If the temperature shoots up immediately, switch off right away and recheck the installation and water flow.
Common mistakes when replacing
The most common mistake is ordering by feel instead of by engine details. MerCruiser has had many variants over the years, and a small difference in model year or cooling system matters. We also often see contaminated sealing surfaces, incorrectly positioned thermostats, and bolts tightened too hard.
Another mistake is replacing the thermostat while the real cause lies elsewhere. A worn impeller, blocked coolant passages, a faulty temperature sensor, or air in a closed system can produce similar complaints. So it's smart to see the thermostat as part of the diagnosis, not always as the automatic solution.
OEM or aftermarket - what's wise?
That depends on use, budget, and the quality of the replacement part. For many MerCruiser engines, original MerCruiser or Quicksilver parts are the safest choice if you want certainty about fit and opening temperature. There are also aftermarket alternatives that work perfectly well, but then the specification really needs to be correct.
For cooling parts, we generally don't advise blindly going for the cheapest option. A thermostat isn't an expensive part, but the consequences of incorrect temperature regulation can become one. Especially during the season, you don't want to disassemble a second time because an unknown part just doesn't work properly.
After installation: what to watch during the test run?
Let the engine run long enough to see whether the thermostat actually opens. Don't just touch hot parts with your hand, but check whether hoses warm up at the right moment and whether the temperature gauge behaves normally. On a closed system, check the coolant level again later, since further bleeding can occur after the first heat cycle.
If possible, take a short test run and check for leaks again afterwards. Behaviour under load on the water is often slightly different than idling on land. That's exactly when you'll see whether the temperature stays stable.
When is it better not to do it yourself?
If bolts are seized, the thermostat housing is visibly affected, or you're unsure about the correct parts, outsourcing is often cheaper than repairing damage. That also applies if the engine has overheated before. In that case, you want to look beyond just the thermostat, for example at the impeller, exhaust manifolds, circulation pump, or internal contamination.
At mercruiser-onderdelen.com, we regularly help customers with this, from supplying the correct thermostat and gasket to thinking along technically based on engine type and complaint. That prevents you from ordering a suitable part for the wrong problem.
Replacing a thermostat is usually not a big job, but it is one where careful work makes a difference. So take an extra ten minutes for identification, cleaning, and checking, so you can afterwards start the engine with confidence and get back on the water.


