

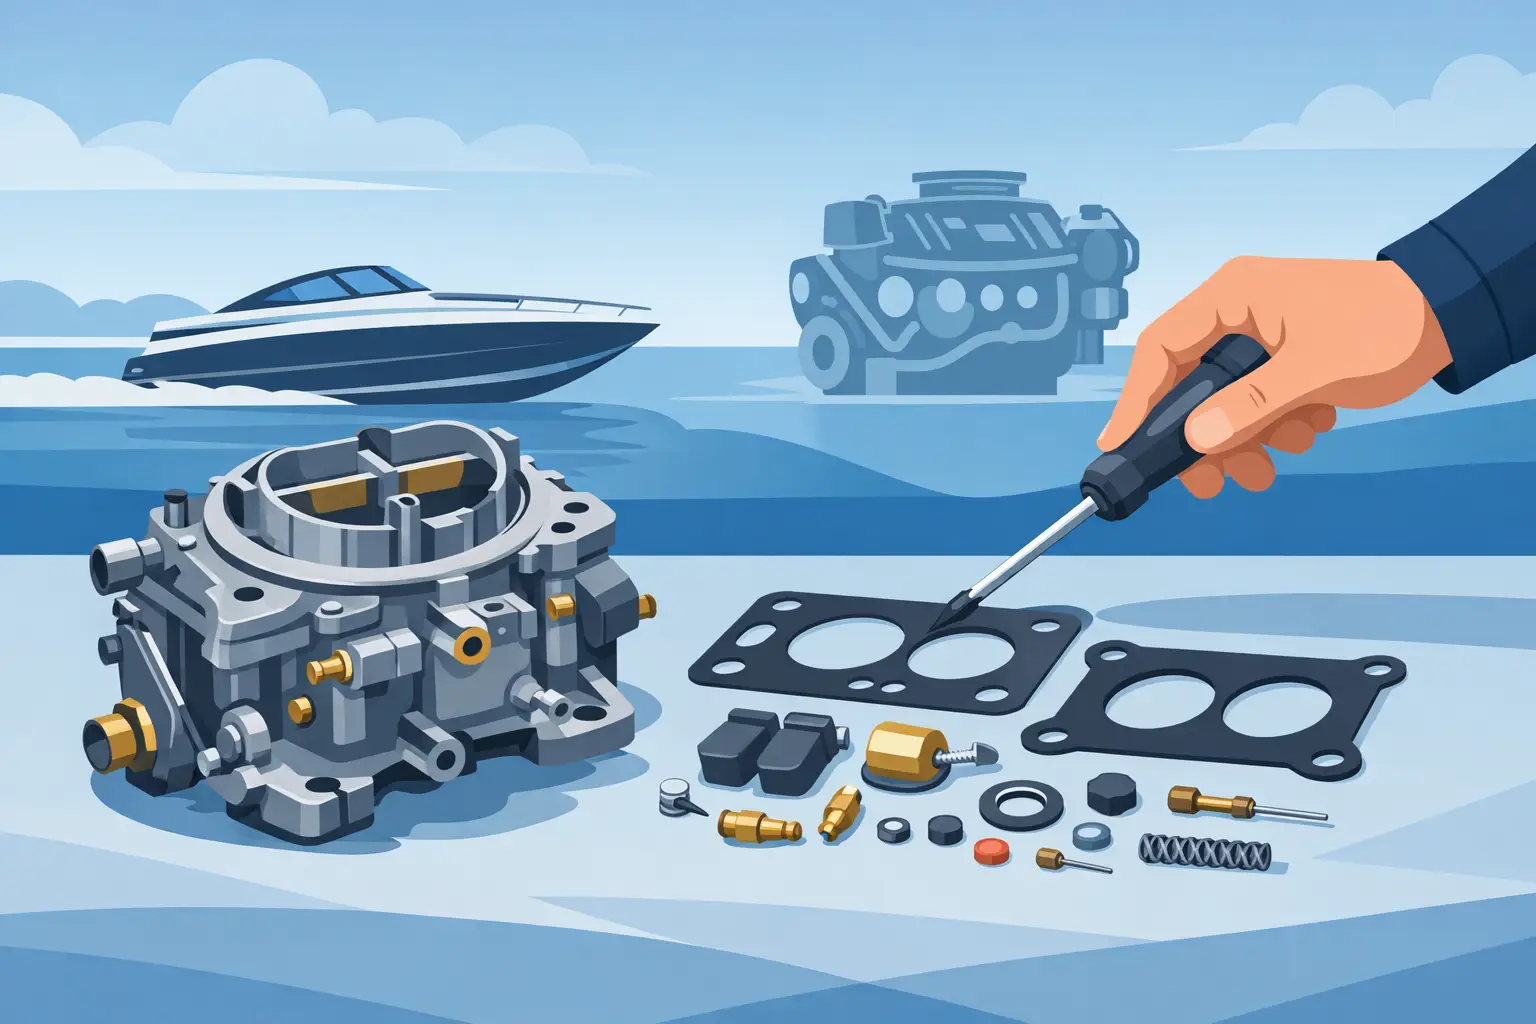
Installing a MerCruiser Carburetor Rebuild Kit
A MerCruiser that idles poorly, leaks petrol, or hesitates under throttle doesn't always need a whole new carburetor. In many cases, installing a MerCruiser carburetor rebuild kit is exactly the right repair, provided you use the correct kit and work carefully. That's exactly where things often go wrong: the wrong gaskets, a float that isn't set correctly, or dirt that ends up back in a passage after installation.
With carburetors on MerCruiser engines, the complaint usually isn't dramatic, but it is persistent. Difficulty starting after standing still, rough idling, stalling when throttling back, or a fuel smell in the engine bay are familiar signs. Rebuilding is then often a logical step, especially if the carburetor body itself is still good and there's no serious wear on shafts or threads.
When installing a MerCruiser carburetor rebuild kit makes sense
A rebuild kit is intended to replace wear parts and seals. Think of gaskets, needle and seat, diaphragm parts, O-rings, and sometimes an accelerator pump. That fixes ageing, drying out, and minor contamination problems. It's a sensible solution if the engine is otherwise healthy and the carburetor is still complete and undamaged.
There are also situations where rebuilding isn't enough. If the throttle shaft has a lot of play, the carburetor base is warped, internal threads are damaged, or corrosion has affected the fuel passages, it quickly becomes only half a job. In that case, replacement or professional rebuilding is often the better choice. That costs more, but prevents you from doing the same job twice in one season.
First determine the correct carburetor type
Before you start, you need to be certain which carburetor is fitted on the engine. MerCruiser has used various versions over the years, including from Rochester, Weber, and Mercarb. At first glance, some models look very similar, but the internal build and the rebuild kit can still differ.
Ordering based on engine power or model year alone therefore isn't always sufficient. The engine number, serial number, and the carburetor's type number give much more certainty. That prevents the familiar situation where the kit almost fits, but contains just the wrong gasket or a different needle seat. If in doubt, it's smarter to sort that out beforehand than to get stuck during disassembly.
Preparation: working cleanly is half the repair here
Rebuilding a carburetor isn't a difficult job for a handy boat owner or mechanic, but it is precision work. Work cleanly, with enough light, and lay out parts in order. Take photos during disassembly, especially of levers, springs, rods, and the position of the float.
Shut off the fuel supply and make sure the engine bay is well ventilated. On a petrol engine in a boat, safety isn't a side issue. Fuel vapours linger, and a small mistake can have big consequences. So also de-energise the system if you're working around the starter relay or electrical connections.
A clean workbench, brake cleaner or carburetor cleaner, compressed air, the right screwdrivers, and a new fuel filter aren't a luxury. If you rebuild a contaminated carburetor but leave the filter in place, you sometimes just bring the cause straight back into the system.
Disassembling the carburetor without extra damage
Start by removing the flame arrestor and note how the vacuum hoses, venting, and throttle linkages are fitted. Then disconnect the fuel line and catch any residual fuel. Carefully remove the carburetor from the intake manifold, without letting dirt fall into the opening.
On the workbench, take the carburetor apart further. Don't force anything. Many problems arise because old screws are seized and someone then strips the heads with the wrong tool. If a gasket is stuck, don't aggressively pry it off a sealing surface. A scratch in the wrong place can later cause air leaks again.
Pay close attention to small parts such as balls, clips, springs, and diaphragm parts. Not every kit includes everything. If you lose something and start improvising later, there's a good chance the engine will run, but never be properly tunable.
Cleaning before fitting the rebuild kit
Just fitting new gaskets isn't a real rebuild. The passages, jets, and chambers need to be clean. Old fuel leaves deposits that are sometimes barely visible to the naked eye, but that still affect idling and throttle response.
Use a suitable carburetor cleaner and then blow the passages out with compressed air. Don't poke hard steel into jet openings, since that can change their size. Then you fix one problem while creating the next. Also check the float for damage or leakage. A faulty float remains a problem, even with a new rebuild kit.
Installing a MerCruiser carburetor rebuild kit step by step
First compare the parts from the new kit with what comes out. Not every leftover gasket means you've forgotten something, but installing blindly isn't smart either. Only use the parts that belong to your exact carburetor.
Then fit the needle and seat according to specification and replace the gaskets one by one. Float height is a critical point. If the float sits too high, the engine can run rich or even flood. If it sits too low, you get fuel starvation during acceleration or higher load instead. Here it really applies: measuring beats estimating.
If the kit includes an accelerator pump, pay close attention to the mounting order of diaphragm, spring, and lever. A small assembly difference immediately causes noticeable complaints under throttle. Also check that all levers move freely and don't catch anywhere.
Tighten screws crosswise and with feel. A carburetor lid or air chamber warps more easily than many people think. Too tight is just as wrong here as too loose. Especially on older cast parts, you want to avoid stress in the housing.
Refitting and first check
For installation on the engine, use a correct base gasket. This is also where things regularly go wrong. A gasket that doesn't quite match the passages or vacuum ports causes rough running and tuning problems that have nothing to do with the rebuild kit itself.
Refit the carburetor, reconnect the fuel line and throttle linkage, and check that the throttle plate fully opens and returns neatly to its rest position. Then check the choke, any electrical connection, and all hoses once more. Only start the engine once everything checks out.
Let the fuel pump build pressure first and immediately check for leaks. No drop is acceptable in the engine bay of a petrol boat. Then start the engine and let it reach operating temperature before adjusting idle rpm or mixture.
Tuning after installation
After installing a MerCruiser carburetor rebuild kit, tuning is often needed. How much exactly depends on the starting situation. If you've only replaced wear parts and the base setting was preserved, you'll often be close. If the carburetor was fully taken apart, or the previous setting was already off, you need to work more carefully.
Start with the base settings according to the specification for the carburetor type and engine. Then tune idle rpm and mixture with the engine warm. Work in small steps. A quarter turn can already make a difference. Pay attention to idle stability, pickup from rest, and behaviour when quickly backing off the throttle.
If, after rebuilding, the engine still runs lean or rich, look beyond just the carburetor. Air leaks, a poor fuel pump, a contaminated tank, ignition problems, or a choke that doesn't fully open can cause exactly the same complaints. So rebuilding is often a solution, but not automatically the whole diagnosis.
Common mistakes with this job
The most common mistake is using the wrong rebuild kit. Next come careless cleaning, incorrect float adjustment, and leaving old gasket residue in place. Adjusting a carburetor immediately "by feel" without a warm engine is also frequently seen.
Another mistake is drawing conclusions too quickly. If an engine runs worse after installation, that doesn't always mean the rebuild kit is bad. Often the cause lies in a small assembly point, a forgotten hose, or an incorrectly fitted diaphragm. Calmly looking back works better than randomly turning adjustment screws again.
For boat owners who want as little downtime as possible during the season, that's perhaps the most important consideration: doing it yourself can work well, but only if you're certain of the correct part and can work precisely. Otherwise you lose more time than you gain.
When getting help is wise
If you're unsure about the carburetor type, the kit's contents, or the tuning afterwards, ask for help in good time. Especially with MerCruiser engines, where several carburetor variants are in circulation, that prevents a lot of frustration. A specialist can often already help determine what you need based on the serial number or photos.
At mercruiser-onderdelen.com, we regularly notice that customers mainly get stuck on identifying the correct part, not on the installation itself. That makes sense. The job is manageable, but only if the basics are right.
Anyone who works carefully, builds up the carburetor cleanly, and takes the tuning seriously can bring back a neat, reliable fuel supply with a rebuild kit. And you'll notice that not just when starting at the dock, but especially when you open the throttle without hesitation and the engine simply does what it's supposed to do.


