

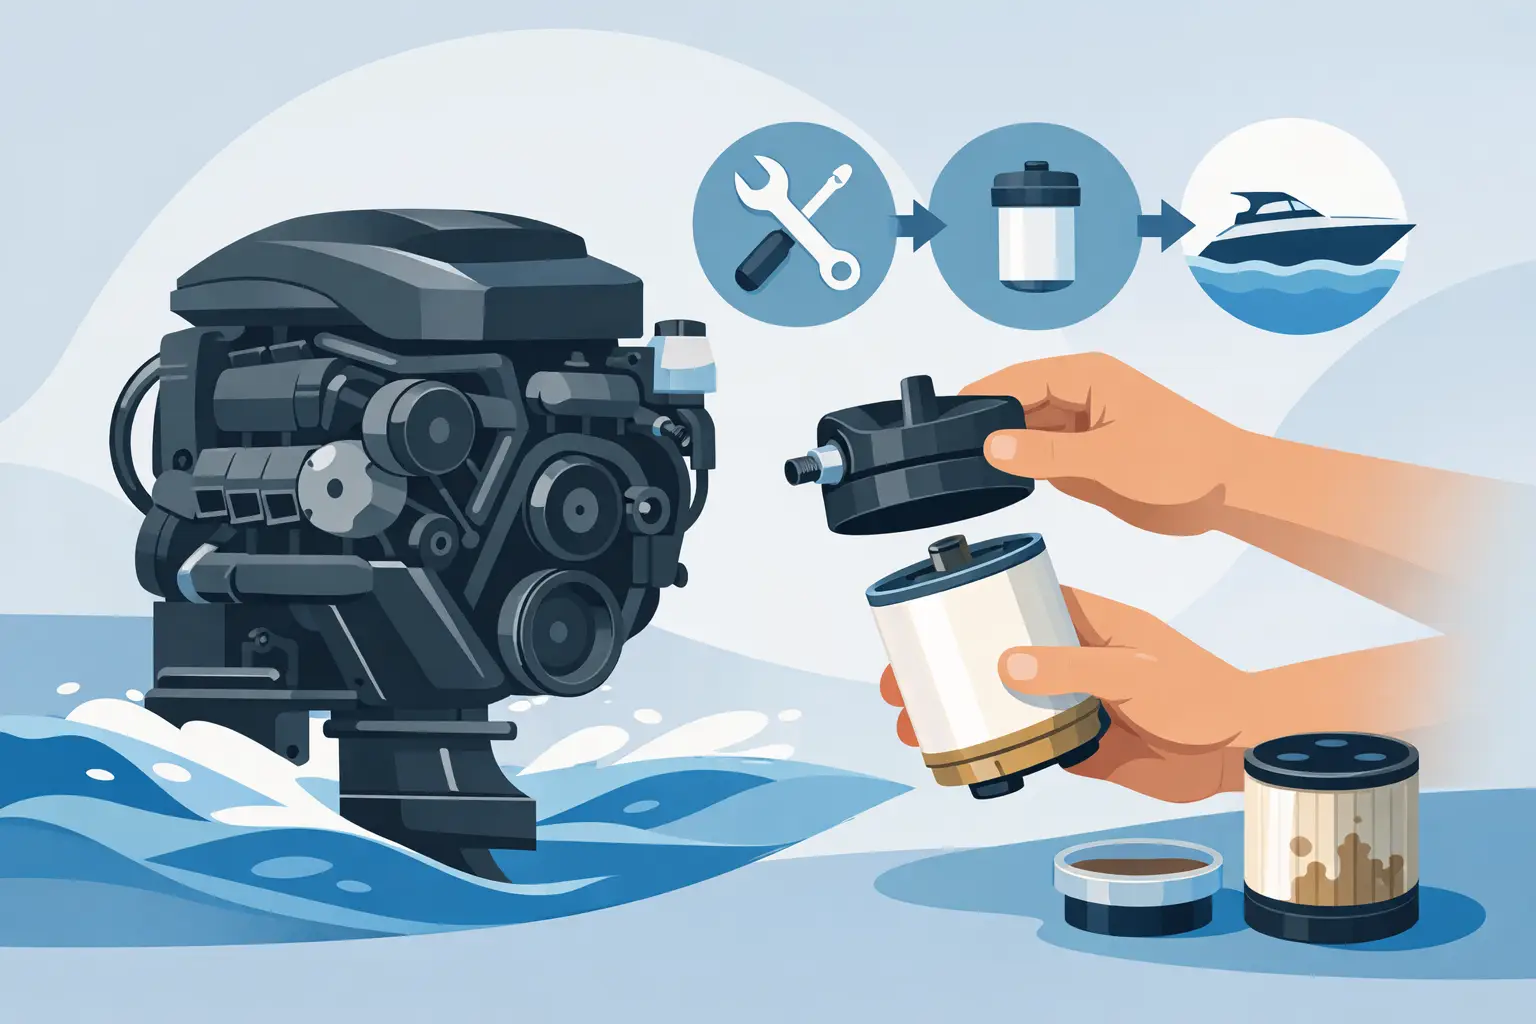
MerCruiser Fuel Filter Replacement Step-by-Step Guide
A MerCruiser that hesitates under throttle, idles unevenly, or is hard to start doesn't always have a big problem behind it. It often starts with the fuel supply. This MerCruiser fuel filter replacement guide helps you carry out that maintenance neatly, safely, and without guesswork.
On MerCruiser engines, you'll roughly come across two types of filters. The most familiar is the spin-on water separator, usually a metal filter canister that removes water and contamination from the petrol. Some engines also have a small fine filter or strainer in the fuel line or at the fuel pump. Which type you have exactly depends on the model year, engine variant, and fuel system. So always check first what's fitted on your engine before ordering parts or starting disassembly.
When replacing a fuel filter is needed
You don't just replace a fuel filter once the engine is already running poorly. Preventive replacement is often wiser, especially on boats that sit idle a lot, have had old fuel in the tank, or run on varying fuel quality. Water, tank residue, and small dirt particles build up in the filter and restrict flow over time.
If you notice power loss at higher rpm, hesitant acceleration, stalling under load, or an engine that struggles to pick up again after standing still, the filter is a logical first check. That doesn't automatically mean the filter is the only cause. A contaminated tank, poor venting, an aged fuel hose, or problems with the pump or carburetion/injection can also play a role. That's exactly why working carefully matters.
Preparing for the MerCruiser fuel filter replacement guide
Always work with safety in mind. You're working with petrol, and in a boat's engine bay, vapour lingers longer than many people think. Turn off the engine, remove the ignition key, and let the engine bay ventilate well. Don't use open flames, don't smoke, and switch off equipment that could spark.
Have everything ready beforehand: the correct replacement filter, a catch cloth or tray, gloves, a filter wrench or suitable spanner, clean rags, and possibly some engine oil to lightly lubricate the rubber seal of a spin-on filter. On some models it's also wise to have a spare clamp or new sealing ring on hand.
Immediately check that you have the correct filter. With MerCruiser, there are differences between original MerCruiser or Quicksilver filters and aftermarket alternatives. Both can work perfectly well, but fit, filtration rating, and corrosion resistance need to match your engine type. If you're unsure about the part number, look it up first. Fitting the wrong filter ultimately costs more time than it saves.
MerCruiser fuel filter replacement guide in the correct order
1. Make the fuel supply safe
On a carburetted engine, pressure is usually limited, but there can still be fuel in the line or filter. On a fuel-injected engine, pressure can be higher. De-energise the engine and work calmly. Place absorbent cloths under the filter so spilled petrol doesn't end up in the bilge.
If your boat has a shut-off valve in the fuel line, close it first. If there isn't one, work extra carefully and account for residual fuel dripping out.
2. Removing the old filter
On a spin-on water separator, turn the filter counterclockwise to loosen it. Sometimes this can be done by hand, but often you'll need a filter wrench. Keep the filter as upright as possible once it comes loose, since there's usually still petrol and possibly water inside. Safely pour the contents into a suitable catch container if you want to check the filter for contamination.
For a small inline filter or fine filter, first loosen the hose clamps or connectors. Pay close attention to the flow direction of the filter. It's usually marked with an arrow. Consider taking a photo before removing anything.
3. Check the old seal
This is a step that's often skipped. Check whether the rubber gasket from the old spin-on filter actually came off with it. If it stays stuck on the filter head, fitting the new filter risks leakage. Wipe the mounting surface clean and immediately check for corrosion, damage, or old contamination.
4. Preparing the new filter
Lightly lubricate the rubber seal of a new spin-on filter with clean engine oil. Don't overdo it, a thin film is enough. That helps the gasket seat better and makes the filter easier to remove at the next service.
Whether you pre-fill a filter with petrol depends on the engine type and mounting position. In many marine applications, mechanics choose not to, to prevent contamination during filling and limit spillage. The engine or fuel pump then fills the filter itself. On some systems, pre-filling can help start faster after fitting, but only if you work absolutely cleanly and are certain of what you're doing.
5. Fitting the new filter
First turn a spin-on filter by hand onto the thread until the gasket touches the mounting surface. Then tighten further hand-tight, usually about three-quarters of a turn more. Don't force it with a wrench unless the manufacturer specifically instructs that. Overtightening later causes problems or damage to the seal.
For an inline filter, reconnect the lines in the correct direction and secure the hose clamps neatly. Not so tight that you damage the hose, but firm enough to prevent air leaks or fuel leakage.
6. Checking the system and bleeding where needed
Reopen the fuel supply if it was shut off. Then turn on the ignition according to your engine's procedure, so the pump can build pressure if applicable. Immediately check around the filter for leaks. Look not just under the filter, but also at the seal, the connectors, and the hose transitions.
On some engines, the engine won't start immediately after a filter change. That's not necessarily wrong. The system sometimes needs to draw up fuel again first. So crank briefly and in a controlled way, not endlessly. If the engine doesn't start, stop and check again whether the filter is properly seated, the line direction is correct, and there's no air or leakage anywhere.
Where it often goes wrong
In practice, we regularly see the same mistakes. Fitting the wrong filter tops the list. Then come leaving an old gasket in place, overtightening the filter, not properly cleaning up spills in the bilge, and forgetting to check for leaks under load.
Also important: replacing a contaminated filter doesn't fix a contaminated tank. If you see a lot of water, rust-coloured residue, or black particles in the old filter, it's wise to look further. Otherwise your new filter will clog up again quickly. Especially on boats that have sat idle for a long time or where ethanol-blended petrol has aged, contamination can sit further into the system.
How often should you replace a MerCruiser fuel filter?
As a rule of thumb, a water-separating fuel filter is often replaced annually, usually at the start or end of the season. If you rack up a lot of hours, refuel at varying locations, or have had fuel contamination before, more frequent replacement can be wise. A small internal filter usually follows the engine's maintenance schedule, but even there, usage conditions can weigh more heavily than calendar-based maintenance alone.
For dedicated boaters, it's smart to look not just at hours, but also at complaints and history. A boat that runs trouble-free with a clean tank and fresh fuel places different demands than an older vessel with an unknown maintenance background.
DIY or have it done?
For many handy boat owners, replacing a fuel filter is manageable to do themselves, especially if it's an easily accessible spin-on filter. Still, there are situations where outsourcing is wiser. Think of hard-to-reach engine bays, injection systems where pressure build-up plays a role, uncertainty about the correct part, or recurring fuel problems where replacement alone isn't enough.
In that case, technical support isn't a luxury but a time-saver. A specialist can often see in one go whether you just need a filter, or also hoses, connectors, a pump check, or a tank inspection. That prevents unnecessary downtime during the season. At mercruiser-onderdelen.com, we notice that many customers start with a parts question but are really mainly looking for certainty that it gets done right the first time.
A handy check after installation
After the first start, let the engine run for a few minutes and check again for leaks. Don't just do that at the dock, but also again after a short test run. Under vibration and load, small leaks sometimes only become visible later.
If you smell petrol in the engine bay, always take that seriously. Turn off the engine, ventilate, and inspect again. A properly fitted filter shouldn't leave any fuel traces. If the engine keeps running poorly despite a new filter, the problem probably lies further along in the fuel supply or ignition.
A properly replaced fuel filter is a small maintenance job with a big effect. Work cleanly, use the correct part, and check carefully afterwards, and you'll keep your MerCruiser more reliable and prevent a lot of hassle on exactly the days you just want to go boating.


