

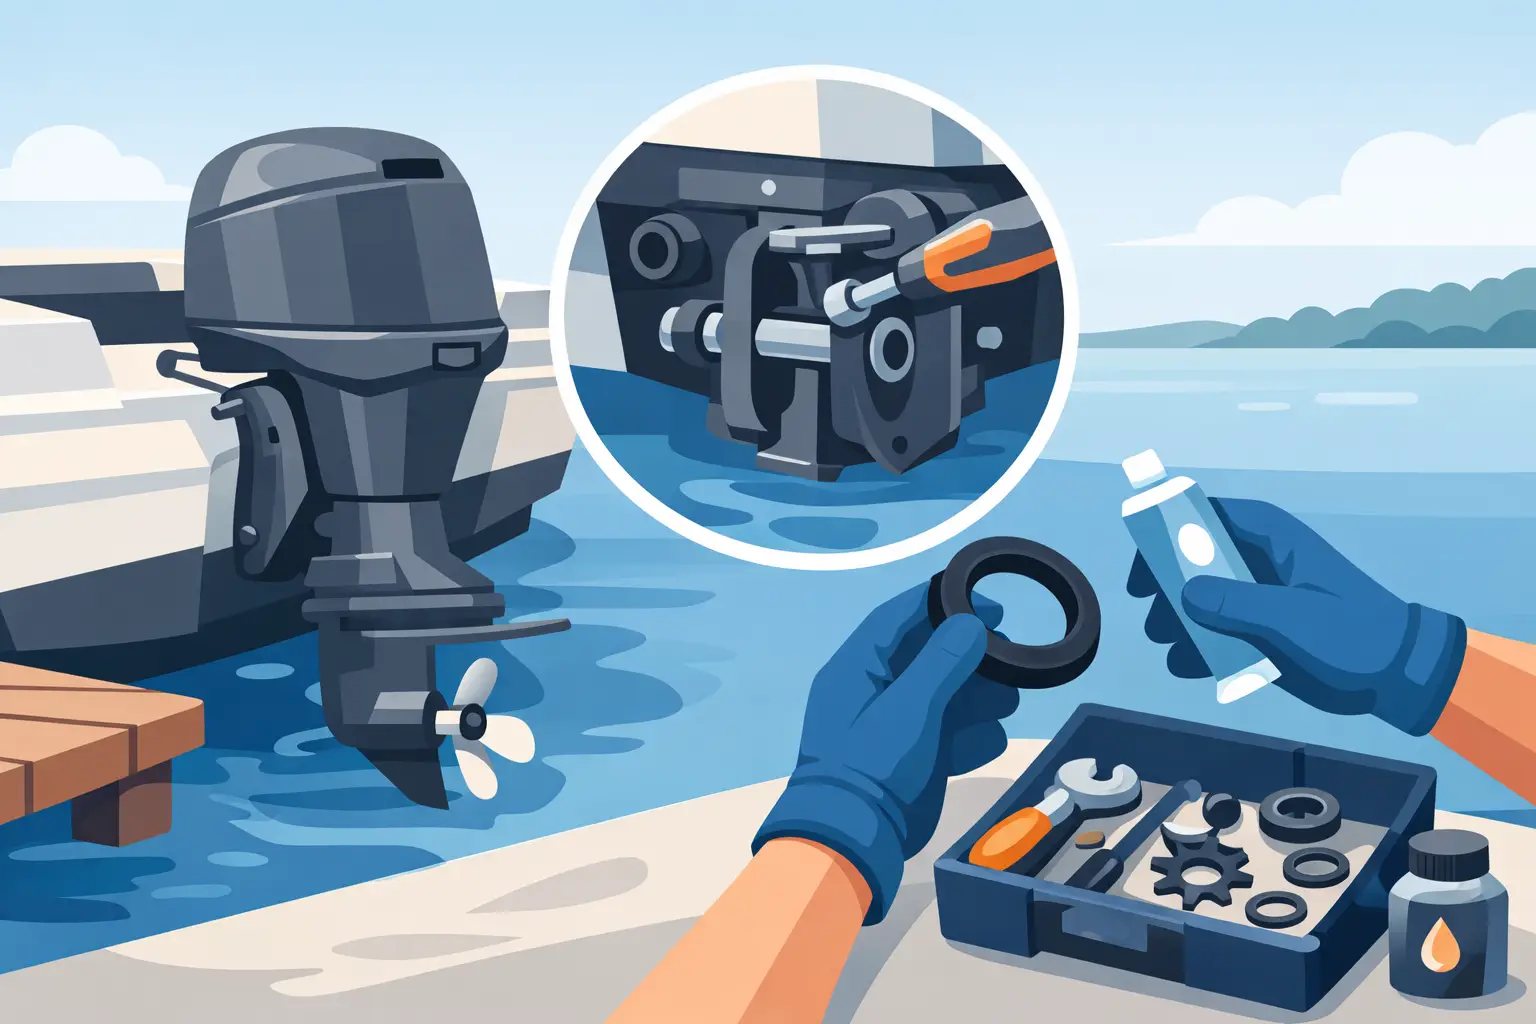
Replacing a Transom Service Kit: How to Approach It
A boat that takes on water around the transom at rest, a drive with noticeable play, or a steering feel that's becoming less tight, these usually aren't isolated complaints. In many cases, replacing a transom service kit is the right step to prevent bigger damage to your MerCruiser drive and transom assembly. Wait too long, and you risk leakage, worn bearings, and unnecessary downtime right in the middle of the season.
When is replacing a transom service kit necessary?
The term is often used for a set of wear parts and seals around the transom plate and the connection of the sterndrive. Which parts exactly are in the kit depends on the drive type and model year. With MerCruiser, it's usually parts that directly affect sealing, bearings, and the general condition of the transom assembly.
Replacement is usually needed if you see traces of water leakage in the bilge at transom height, if rubber parts have dried out or torn, or if play develops on parts that should sit tight and stable. On older boats where the maintenance history is unclear, it's also wise to take a critical look at the condition of the transom parts.
Sometimes the trigger comes from a completely different angle. You remove the drive for regular maintenance, see corrosion, poor sealing, or a worn bellows, and then it turns out an isolated repair is no longer enough. In that case, a complete service approach is often smarter than replacing separate parts one by one.
Which parts are included in a transom service kit?
That differs per set, but a kit usually consists of several seals, bellows or gaiters, clamps, bearings, and mounting parts you want to renew all at once while everything's already open. Some versions also include gaskets, O-rings, and watertight sealing parts you don't want to reuse.
Especially on Alpha One and Bravo drives, the exact composition matters. Not every kit simply fits every model. Differences in generation, serial number, and transom plate mean that a set that looks almost identical on paper still doesn't connect correctly in practice. That's exactly where things often go wrong with generic ordering without checking.
That's why searching by brand or engine type alone usually isn't enough. You want to look at the exact drive type, the serial number, and the current build. Especially if a boat has been modified in the past, or aftermarket parts have been used.
Replacing a transom service kit is more than just swapping rubber
On paper, it sometimes sounds like a simple maintenance job, but in practice, the condition of the entire assembly determines how much work it really is. If everything comes apart cleanly and the fit is still good, it stays straightforward. But if there are traces of corrosion, seized bolts, damage to the bearing housing, or old sealant residue on the sealing surfaces, the labour quickly adds up.
That's also exactly the main difference between a quick fix and a proper repair. Fitting a new bellows onto a damaged sealing surface doesn't really solve the problem. The same applies to bearings that get reused while moisture has already been sitting in them. You might come out a bit cheaper for now, but there's a good chance the drive will need to come off again later.
A good replacement therefore starts with inspection. Not just of the kit parts themselves, but of the complete surrounding area they operate in. Think of the gimbal bearing, alignment, the condition of the steering pin, the trim pass-through, and the sealing surfaces of the transom assembly.
What should you pay attention to with MerCruiser?
With MerCruiser, fit is everything. A wrong kit doesn't just lead to frustration during installation, but can also directly cause problems with sealing or wear. That's why it's wise to first establish whether you're working with an Alpha One Gen I, Gen II, or a Bravo system, and whether earlier repairs still affect the current configuration.
The choice between original MerCruiser or Quicksilver parts and an aftermarket alternative also plays a role. Original is often the safest choice if you want maximum certainty on dimensions and material. A good aftermarket alternative can be appealing if price plays a role, but then the quality really needs to be right. Especially for parts that are constantly under load, water, and movement, you don't want any doubt about fit or lifespan.
For DIY mechanics, there's something else too: don't underestimate alignment. After replacing parts around the transom, everything needs to connect correctly again. If alignment isn't right, you put the wrong strain on bearings and couplings. You don't always notice that immediately, but you will after a number of boating hours.
DIY or have it done?
That depends on your experience, tools, and above all what you find once the drive is off. Replacing a transom service kit is certainly not impossible for a handy owner, but it's also not a job to start on guesswork. You're working on a critical part of the drivetrain, where sealing against outside water and correct bearing come together.
If you have experience with sterndrive maintenance, access to the right tools, and can check parts by serial number, doing it yourself is realistic. If you're unsure about the correct set, see corrosion, or suspect more is going on than just worn rubber, technical support isn't an unnecessary luxury.
That's exactly where a lot of value lies. Not in blindly replacing as many parts as possible, but in recognising what's really needed and what's still fine. Sometimes a complete service kit makes sense. Sometimes additional replacement of a bearing or extra sealing part is wiser. And sometimes you see that delay has already led to consequential damage.
Common mistakes when replacing a transom service kit
The first mistake is ordering the wrong kit. That happens more often than you'd think, especially on boats where the drive was once swapped. The second mistake is not cleaning old mounting surfaces sufficiently, or reusing damaged parts anyway. Then you're fitting new parts onto a base that's no longer reliable.
Another classic mistake is too little attention to inspecting adjacent components. If you've already removed the drive, you want to immediately look at bellows, bearings, water pass-through, cable pass-throughs, and sealing around the transom plate. Not every part needs replacing by default, but checking nothing is asking for double work.
Finally, lubrication and mounting order are sometimes underestimated. Using too much, too little, or the wrong product can directly affect the lifespan of new parts. Following the correct torque values and mounting order matters more than many people think.
How do you prevent downtime during the boating season?
The best approach is simple: don't wait for an obvious leak. Plan inspection and replacement outside peak season, for example during winterizing or before the spring service. Then you have time to correctly select parts and don't have to carry out a half-finished repair under time pressure.
It also helps to have parts checked not just by name, but by engine details and drive identification. Especially with MerCruiser, that saves a lot of hassle. A specialist who works with Alpha One, Bravo, and the related transom parts daily often spots the pitfalls faster than a generic parts supplier.
On older boats, or boats sailing in salt or brackish water, preventive replacement is often cheaper than waiting for damage. Corrosion and drying out build up slowly. By the time you notice it, you're often further from a solution than just a service kit.
Choosing the right parts without guesswork
If you're looking for a transom service kit, you don't want a webshop experience where you have to reorder three times. You just want the right parts, matching your MerCruiser configuration, with the option to consult if there's doubt. That applies to original parts, but just as much to replacement parts where price and quality need to be balanced.
At mercruiser-onderdelen.com, we see in practice that customers often already have a suspicion of the problem, but aren't always sure which kit belongs with it. That's understandable. Many parts look similar in photos, while the differences are technically quite relevant. In that case, an extra check on type, model year, and serial number is simply the smartest route.
Anyone working on it themselves benefits from clear confirmation of the correct set. Anyone wanting to outsource the work mainly needs speed and certainty. In both cases, the same applies: the sooner you take the complaints seriously, the greater the chance it stays regular service.
Replacing a transom service kit is rarely the most exciting job on board, but it is one of those tasks that prevents a lot of trouble if you do it in time and with the right parts. If you notice leakage, play, or wear around the transom, don't let it simmer until the next trip out, tackle it while it's still maintenance and not a major repair.


